Steps To Doing Acrylic Nails At Home

Step By Step To How To Do Your Own Acrylics French Tip Nails Disclaimer I Did Not Get This From The Diy Acrylic Nails French Tip Nails Acrylic Nails At Home

Step By Step Rossi Nail Gel Acrylic Nail Kit Hard Gel Nails Gel Nail Tutorial
10 Things To Do When You Re Bored What To Do When You Re Bored Diy Slime How To Make Slime Hey Everyone Fo Fake Nails Diy Fake Nails Acrylic Nails At Home

How To Do Gel Nails At Home I Am Joellen Diy Acrylic Nails Gel Nails At Home Gel Nails Diy

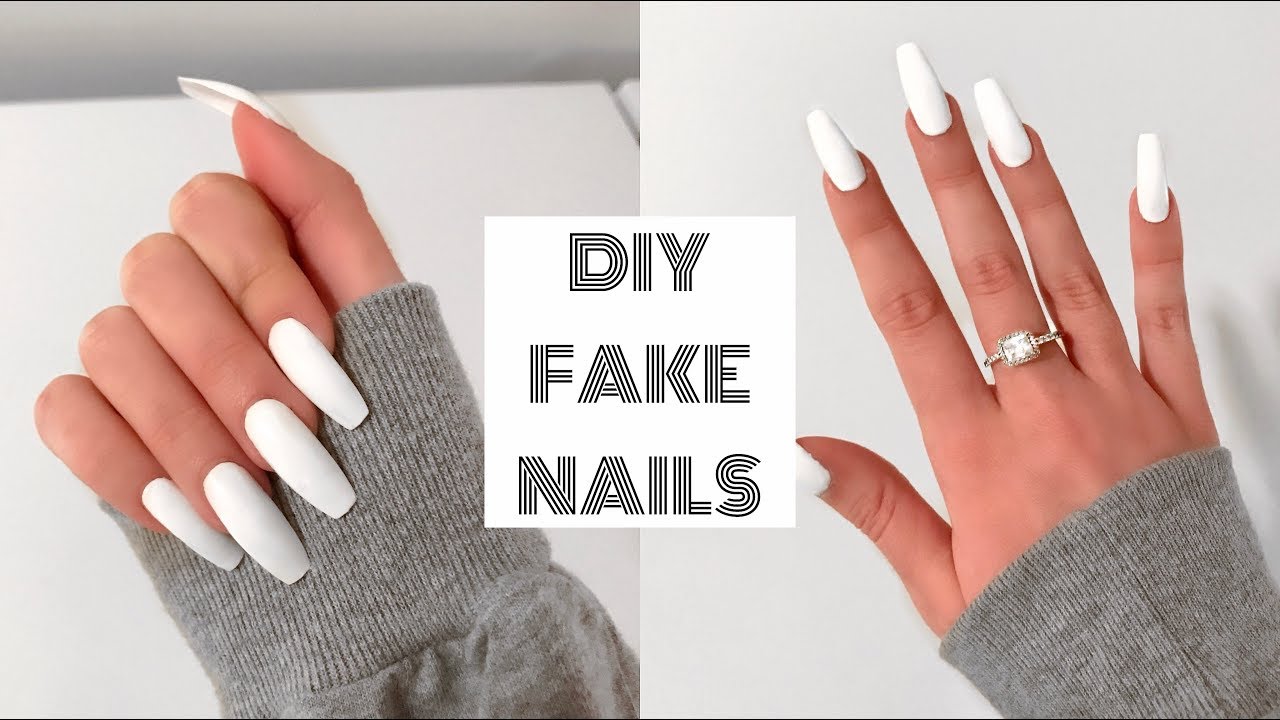
Diy Acrylic Nails Easy At Home Diy Acrylic Nails Gel Nails Diy Acrylic Nails At Home

The Perfect At Home Gel Manicure Gel Manicure Diy Gel Manicure At Home Gel Nails Diy
Prepare The Acrylic Materials.
Steps to doing acrylic nails at home. These nails can be kept for about three to four weeks. You obviously do not want your acrylic paints to stick to your skin. Allow to dry properly.
If you need more acrylic to cover the entire nail repeat steps 2-7 until youre happy with the coverage of the nail. A step-by-step guide to safely removal acrylic nails at home Ashley LadererDebra Jaliman. How to Apply Nail Tips at Home Next choose a nail tip which fits your nail and your style preference.
Hold the tip down for 10 seconds to allow the glue to dry. Step-by-Step Instructions to DIY Acrylic Nails Step 1. Clean and Buff Before doing your own acrylic nails never forget to clean your nails thoroughly first then buff afterward.
Wash your hands any dry thoroughly. Using a Pinching Tool Optional After you have practised doing acrylic for a while or are confident doing basic acrylics you can use a pinching tool on the nail to make the nail longer more slender and to make a stronger C curve which will make the nail stronger. Repeat this step but this time apply it to the entire nail avoiding the cuticle line.
ALL-NATURAL NAIL DAMAGE This could take place while of the solution. To do acrylic nails at home you should have a kit containing acrylic paints a fluid that increases the adhesion of a natural nail to an artificial nail a solvent a de-greasing fluid a brush and a few nail tips. She also put together a step by step DIY nail tutorial using the Kiara Sky.
With new styles and ideas popping up all the time more people want to learn how to do them themselves. Buying the Kit to Learn How to Do Acrylic Nails If you are looking into how to do acrylic nails consider purchasing an acrylic nail kit. Make sure you are in a well-ventilated area as the fumes from the acrylic are so strong.

Step By Step Guide For Diy Polygel Nail Manicure Diy Nails Manicure Gel Nails Diy Polygel Nails

Alexandra Nanette On Instagram Pink White Ombre Picture Tutorial Pinknails Ombre Gel Nails Diy Acrylic Nails Ombre Acrylic Nails

Diy Acrylic Nails Diy Tutorials Diy Acrylic Nails Acrylic Nails At Home Matte Nails Design


